
In this article I give you a guide on how you can plan your own exhibition in a structured manner
A guide to plan your own exhibition
The idea of planning the opening of your own exhibition is very tempting when you think about the fact that your own works will then be hung on walls that are accessible to the general public and you will get feedback and attention for your artistic work. That you can move and change something with your art in the viewer and not only created for yourself is a very satisfying and exciting feeling for me personally. If you then also sell something, the joy is of course all the greater!
The good thing is that the implementation is quite easy and exciting if you approach the matter in an organized manner. I have organized two exhibitions so far and here I would like to share my approach with you. The planning will take about 4-6 months.
1. TOPIC
At the beginning of your exhibition planning, you should produce 25-40 works on a topic or choose from existing works that match a topic. There should be a “red thread” that runs through all works. When you have all the works, put a label on each picture with the picture title, dimensions, material and year of creation. Think about which exhibition title fits the topic and who you want to reach with your pictures. Then, tailor the title to your target audience.
2. SPONSORS
You can try to find sponsors for your exhibition. They can support you either financially or with exhibition materials. E.g. a photo studio could provide the frames. Feel free to ask universities whether they can lend you frames, hanging material, pedestals and lamps. If you find sponsors, don’t forget to mention them later on your flyer and invite them to the vernissage.
This link might help you as well
https://www.wikihow.com/Seek-Sponsorships
3. EXHIBITION LOCATION
In order to find the right space, you should ask yourself when planning your exhibition which location suits your works. Take into account that the location must be easily accessible. For example, you can choose an art association, a bank, a town hall, a diakonia or another public institution as an inexpensive exhibition location. You can also inquire in cafes or shops, for example. They are often happy about this opportunity because it adds decorative value to their business. It is important not to lose sight of the target group.
4. MARKETING
Once the exhibition location has been found, set a date that does not fall on a public holiday. It is best to choose a whole weekend or a little longer. Make sure that the opening times are compatible with the usual working hours so that your prospective customers have time to come. Good marketing is important! You can make leaflets, distribute them and post them on social networks, put up posters and publish an invitation in the local newspaper. Be careful, some flyers and posters have to be approved! It makes sense to ask art associations in your region whether they can put your flyer online and whether you can put up a poster with them. If you like, you can also contact a radio station and have an announcement of your exhibition announced. In any case, invite everyone involved who participated in the preparations, such as sponsors or the press, if you have placed an ad.
5. PROGRAM BOOKLET
In order to keep your exhibition exciting for your guests, it is important to plan a few interesting program items. Create an exhibition program, e.g. in the form of a fan-fold. There you can also display your works and provide your contact details with a reference to your homepage. Inquire about your options in a print shop in your region and with a bit of luck you will even win another sponsor.
6. MATERIAL LIST
In order to keep an overview, I advise you to create a material list in which you list everything you need to set up the exhibition. Frames, passe-partouts, hanging systems, light sources, nails, hammer, ruler, power strips, pencil, eraser, tables, possibly covers, drinks, snacks, glasses, plates, labels, pedestals, etc.
7. EXHIBITION SETUP
Depending on the chosen space, the hanging must be adjusted. Clarify beforehand which materials still need to be procured and whether the room already has a hanging system and suitable lighting. It is best to start hanging at least two days before the opening.Something unexpected always comes up and it gives you a certain serenity with all the excitement if you have a little time buffer for hanging and preparing the space. Get the mind. 2-3 helpers to help you set up.
8. VERNISSAGE
At the beginning, when the guests gradually arrive, you can welcome them with a welcome drink. A buffet or small snacks distributed on high tables helps you to feel good and to talk to others. As soon as you have the feeling that there are no more new guests, you can give your welcome speech. In the speech you can introduce yourself to your visitors, tell them something about your exhibition concept and, depending on what you are planning, which items are still on the program. FOR EXAMPLE. when there will be a tour or another speech. In the speech you can also announce again how long the exhibition WILL run and when the finnisage will take place.
9. GIVEAWAY
To express your gratitude for the visit of your guests, you can offer a small gift such as a postcard with your work as a print. You will be happy and happy to think back to your exhibition.
10. MUSIC
The atmosphere can be loosened up with music and round off your program. Do not neglect this consideration when planning your exhibition. Think about which genre of music suits your target group and your works and whether it is possible to have live music played. But remember that the music should not be in the foreground, but only serves as background music for your exhibition.
I sincerely hope that you can use this exhibition planning guide to make your exhibition a success! All the best!
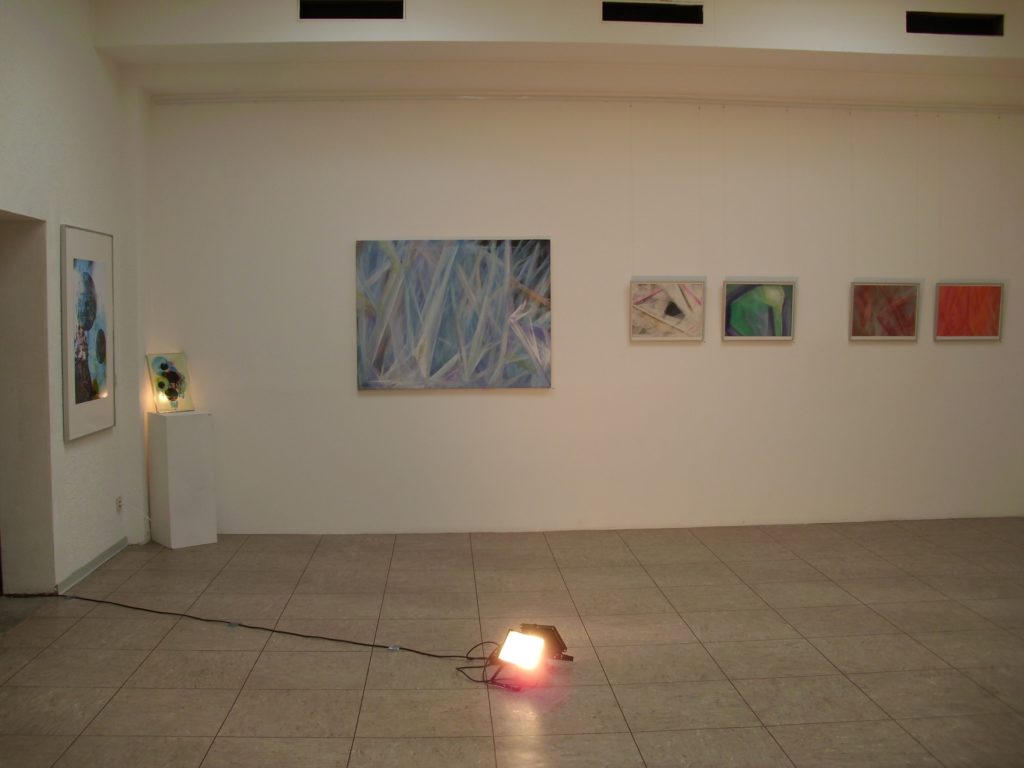
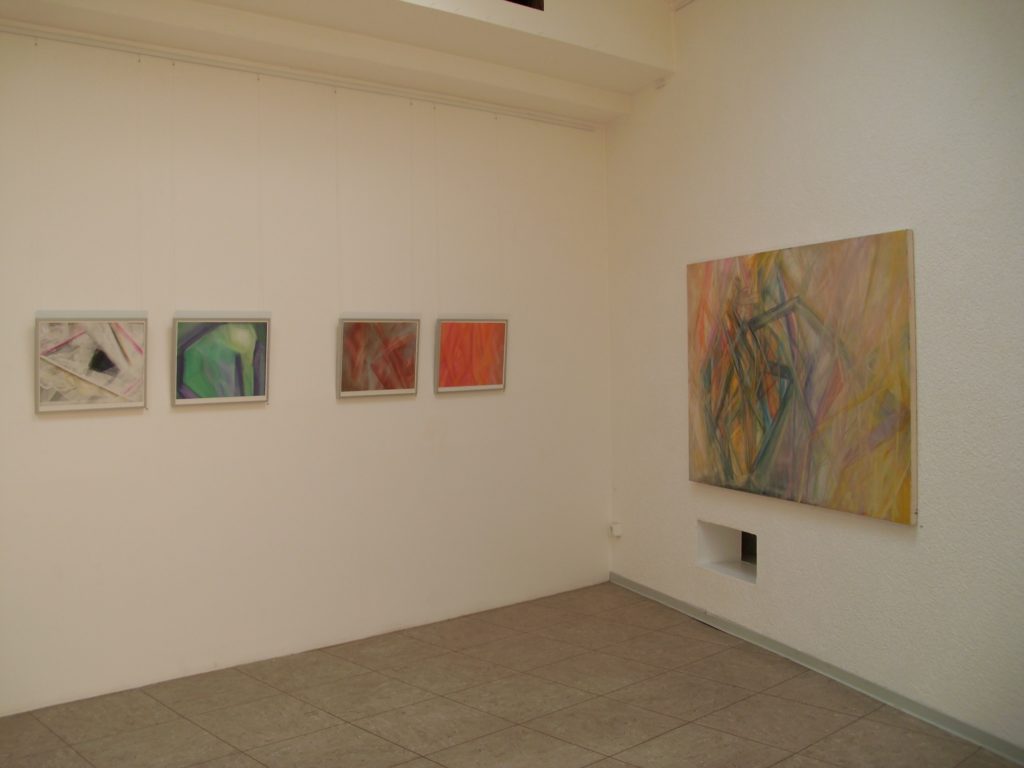
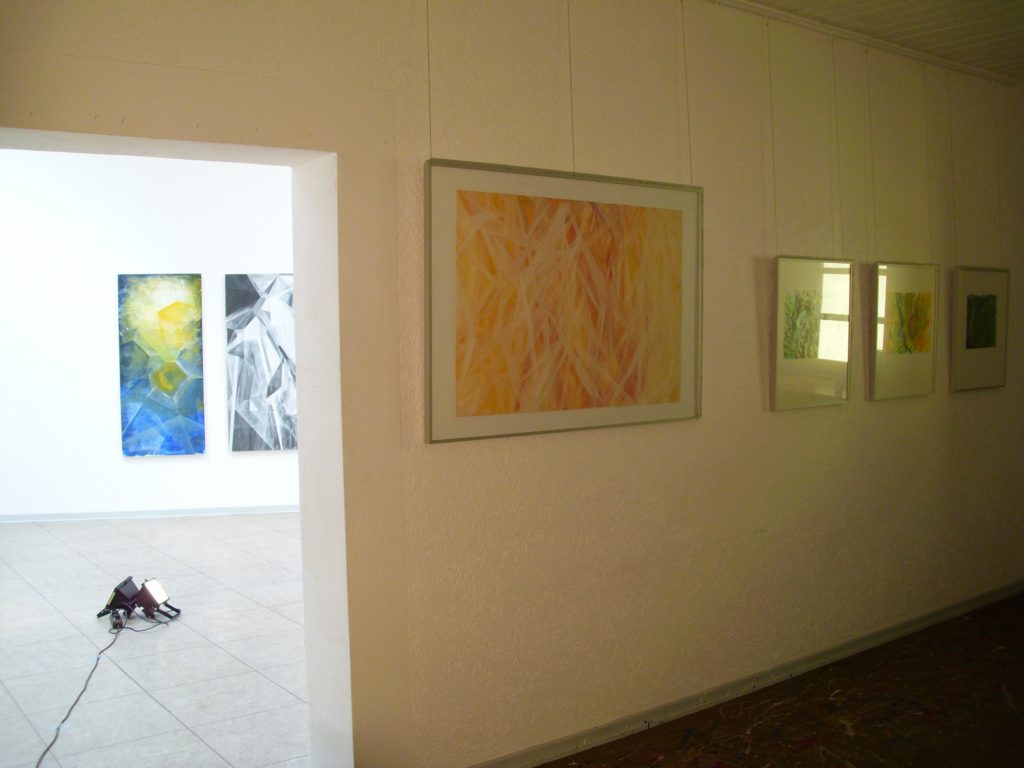
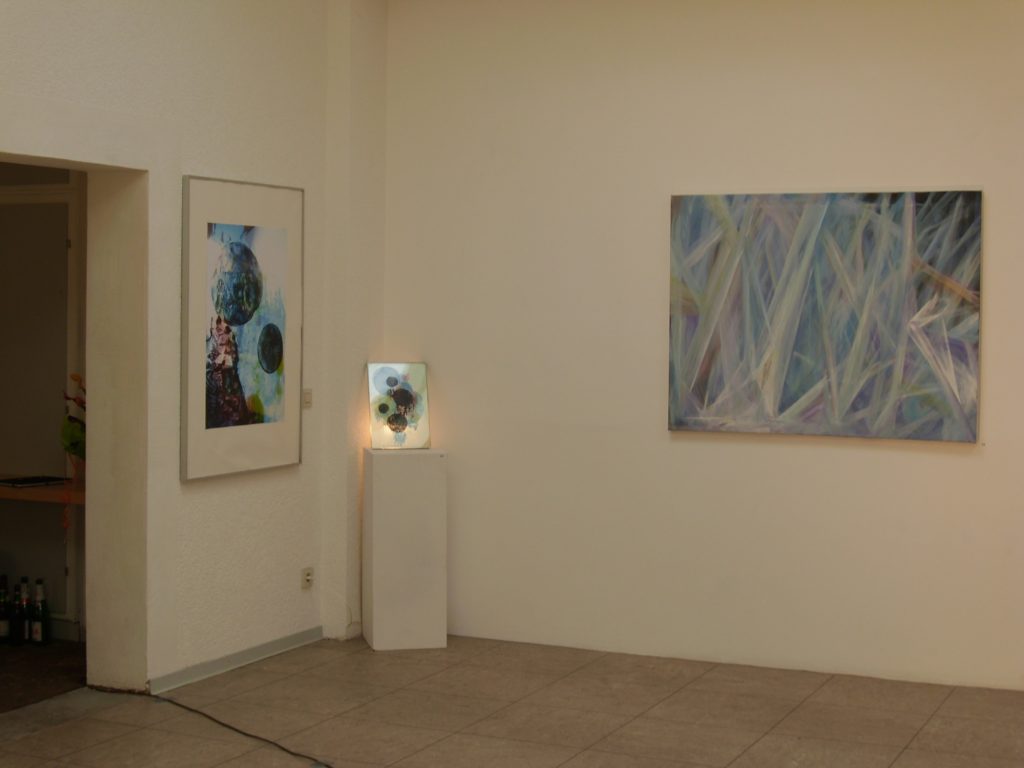
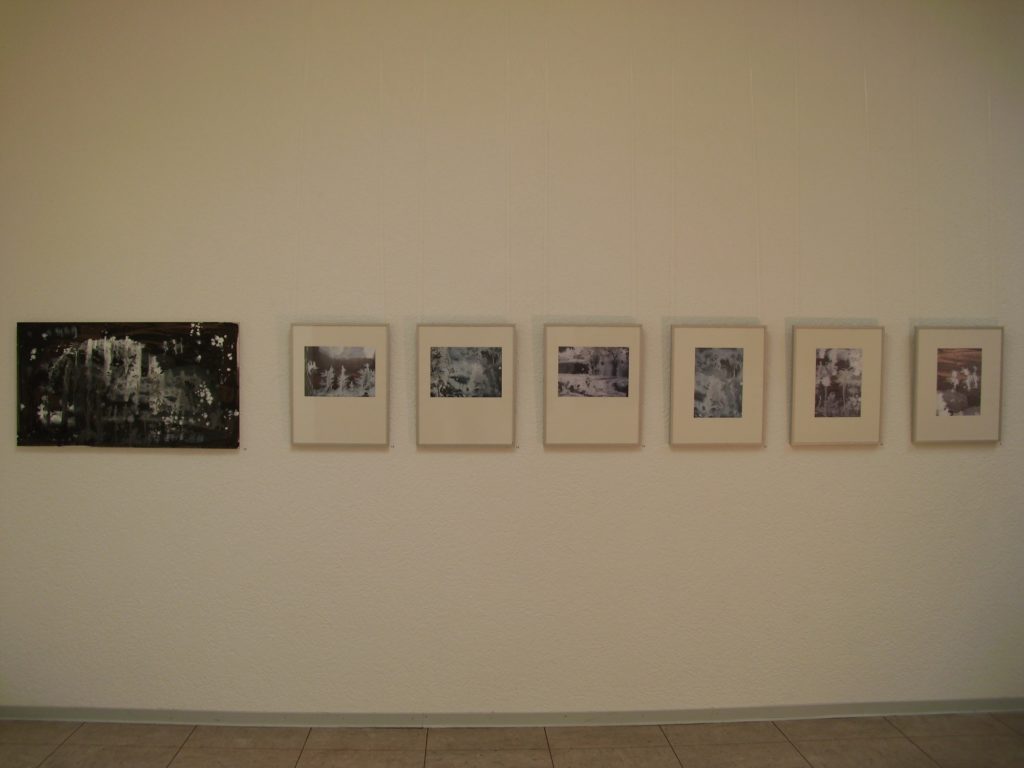
Here is a video and a few photos from my own exhibitions. You can find the individual works from the exhibitions in my gallery.
If you like this guide, leave me a comment below!
Very interesting article!
Danke Anna!